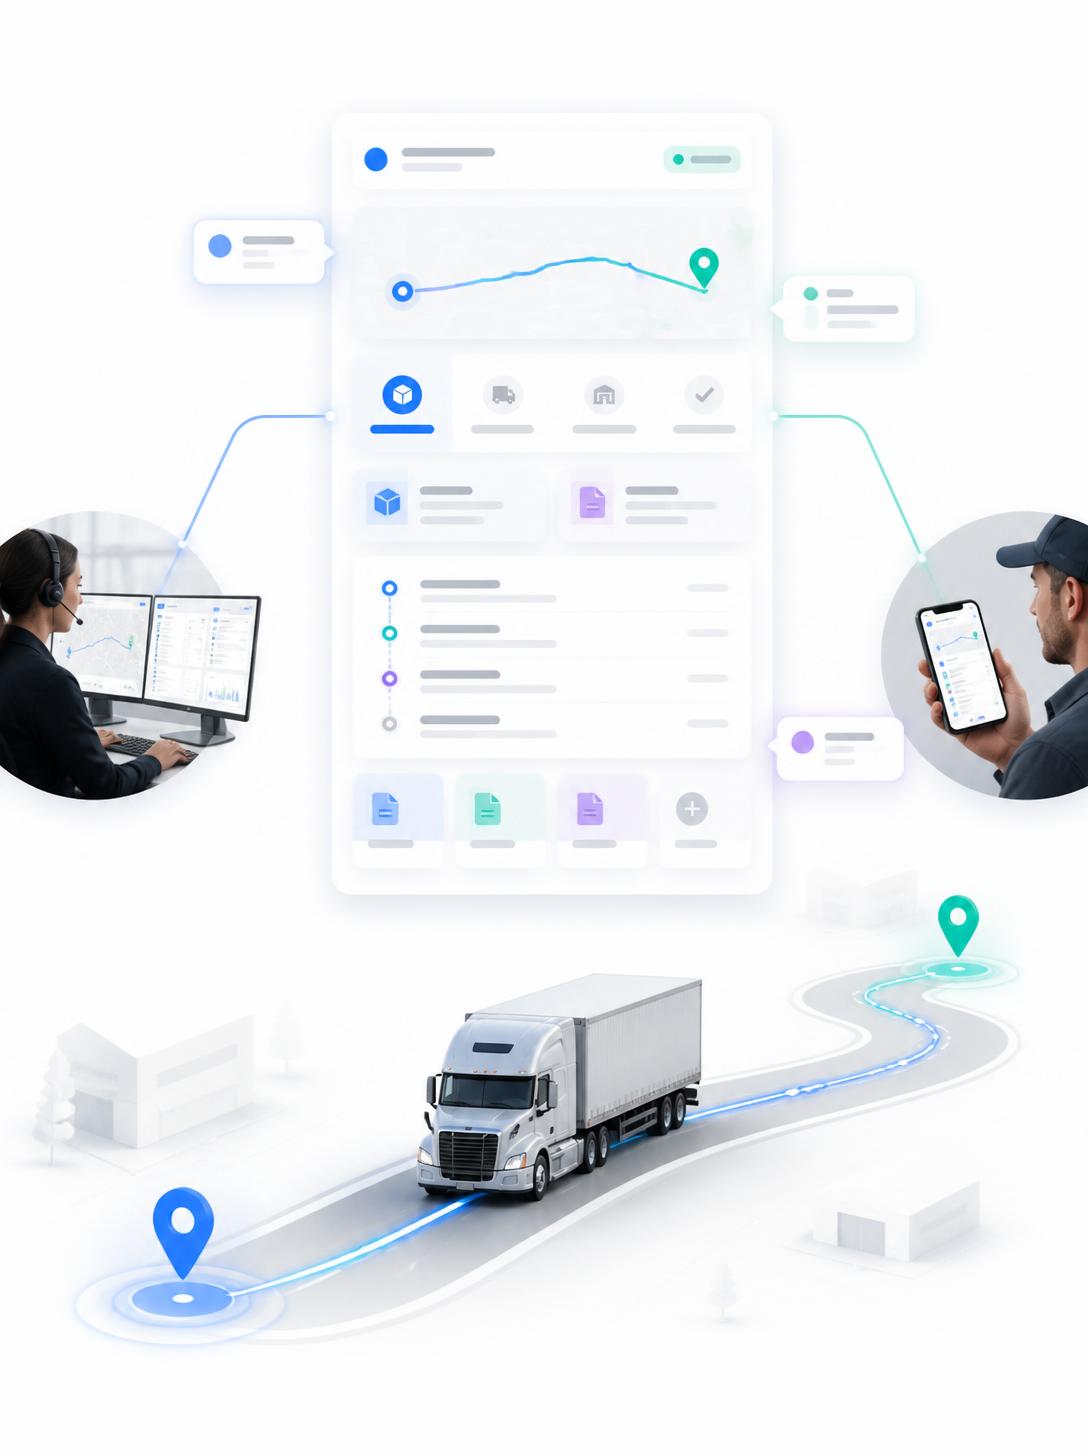
TrackEnsure’s Garage module is built to take that chaos and put it into a single system — from setting up who can access what, all the way through to tracking a repair from a mechanic’s request to a completed work order. Here’s how it actually works.
Setting Up Access First
Not everyone on a team needs to see the Garage tools, so access is controlled through User Management. A fleet manager creates a user group — something like “Garage_Workers” — and assigns it the relevant Garage resources: Assets, Category, Garage, Garage-order, Garage-store, Garage-supplier, Label, Master-product, Product, Repair-shop, Tickets, Work-order, Work-order-part, and Workers. Once that group exists, any user added to it can log in and see the Garage interface — nothing more, nothing less.
Garages and Stores: The Physical Layer
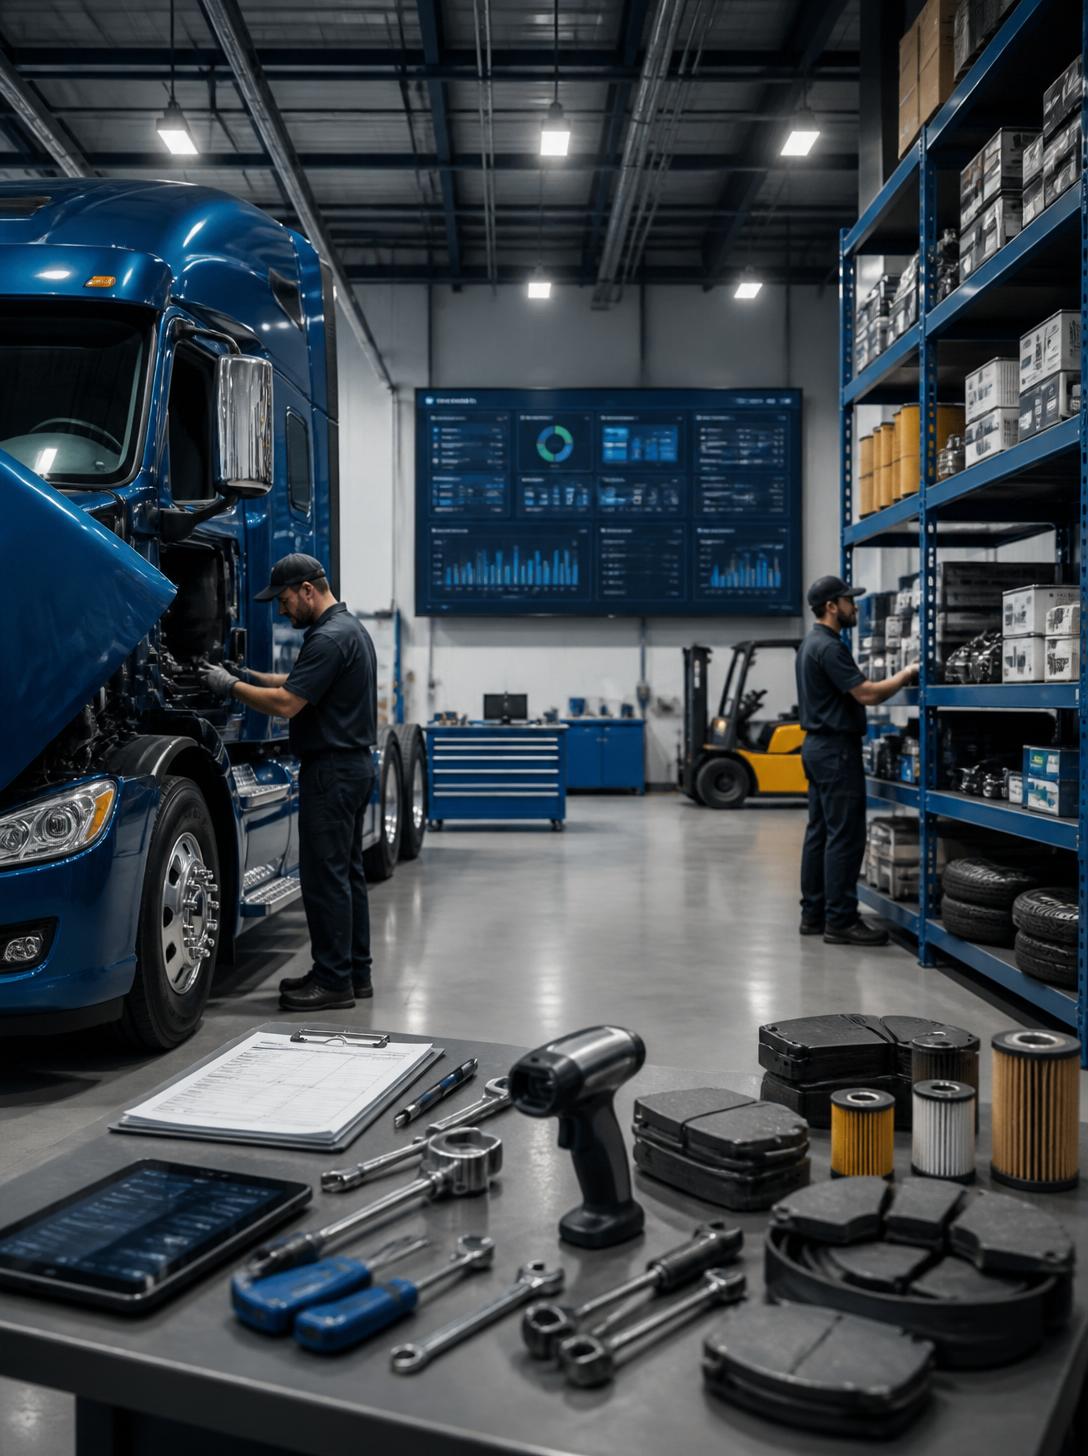
The structure starts with Garages — the physical locations where repair work happens. Each one is set up with a name, contact person and phone number, address, and active status. There’s also an optional Zone Trigger, which ties the garage to a geo-zone so the system can send notifications when trucks enter that area.
Inside each garage, you create Stores — the actual inventory locations tied to that garage. A store just needs a name, a parent garage, and a status, though you can add a description, address, and contact info for whoever’s responsible for it. This is what lets a company running multiple garages keep each one’s parts inventory separate and organized.
Workers: Who Does What
Every technician and manager working in the Garage gets added as a Worker, tied to a specific garage, with one of three access levels:
- Manager — full access to all tools
- Advisor — same access as a manager
- Mechanic — can only create tickets
That last restriction matters: mechanics can flag that something needs fixing, but they can’t authorize the work order themselves. That decision stays with a manager or advisor, which keeps a layer of oversight between “something’s broken” and “we’re spending money and time on it.”
Master Products and Labels: Building the Parts Catalog
Before a store can track inventory, it needs a Master Product catalog — the actual parts and materials the shop uses, works with, or keeps in stock. Each product record includes a name, article number, barcode, unit type, purchase and sale price, minimum required amount, and any supplier info.
To keep a growing catalog organized, TrackEnsure uses Labels — custom tags like “Winter,” “Michelin Tires Co.,” or any category that makes sense for the fleet. Labels are grouped under Label Types (for example, a “Supplier” type or a “Season” type), so products can be filtered and sorted however the shop actually thinks about its inventory, rather than being stuck with a generic list.
Product List: Real-Time Inventory Across Stores
Once master products exist, the Product List page shows exactly what’s on hand in each store — filterable by store, product name, barcode, article, or amount. This is the page that answers the question “do we have this part, and if not, which store might?” before someone drives across town or places a duplicate order. Products can’t be added directly here — they only enter inventory through incoming orders, which keeps the numbers honest and tied to an actual paper trail.
Tickets: Where a Repair Request Starts
When a mechanic notices something needs attention, they open a Ticket — selecting the worker responsible, the work type (service or repair), a category, and optionally notes, a description, the driver, and the garage. The ticket then waits for a manager to review it.
This is a deliberate checkpoint: a mechanic can flag an issue, but turning that ticket into an actual Work Order — with parts allocated and time budgeted — requires manager approval. A manager can also skip the ticket step entirely and create a work order directly if they already know what needs to happen.
Categories: Keeping Time and Type Consistent
Categories define the custom types of work performed in the garage — things like “Oil Change,” “Wheels Replace,” or “Tire Replace” — each with an expected work time and a type (service or repair). Having these predefined makes creating a ticket or work order faster, and it gives fleet managers a consistent way to estimate how long a job should take before it’s assigned.
Orders: Keeping Inventory Honest
The Orders page handles two directions of inventory movement:
- Incoming — products being delivered to a store, logged with an order number, supplier, date, and destination store
- Returning — products sent back, with a reason for the return
This is the only way products actually populate the Product List, which means the inventory numbers in the system reflect what’s actually been ordered and received — not a guess.
Work Order Parts and Work Orders: Where the Repair Happens
Once a ticket is approved (or a manager creates one directly), it becomes a Work Order — the actual repair work a mechanic performs on a truck or trailer. Work orders can be filtered by the advisor or mechanic in charge, and each one pulls together the parts used (tracked via Work Order Parts), the category of work, expected time, and the people responsible.
This is the piece that closes the loop: a part gets used, it’s tied to a specific job, and that job is tied to a specific truck, mechanic, and manager sign-off.
Suppliers: Keeping the Paper Trail Complete
Finally, the Suppliers page holds the full list of companies a garage buys from — names of managers and accountants, contact details, bank data, and tax information, all filterable for quick reference. When it’s time to reorder a part or reconcile an invoice, the supplier information lives in the same system as everything else, instead of scattered across email threads and spreadsheets.